Introduction to Apple Butter Whoopie Pies
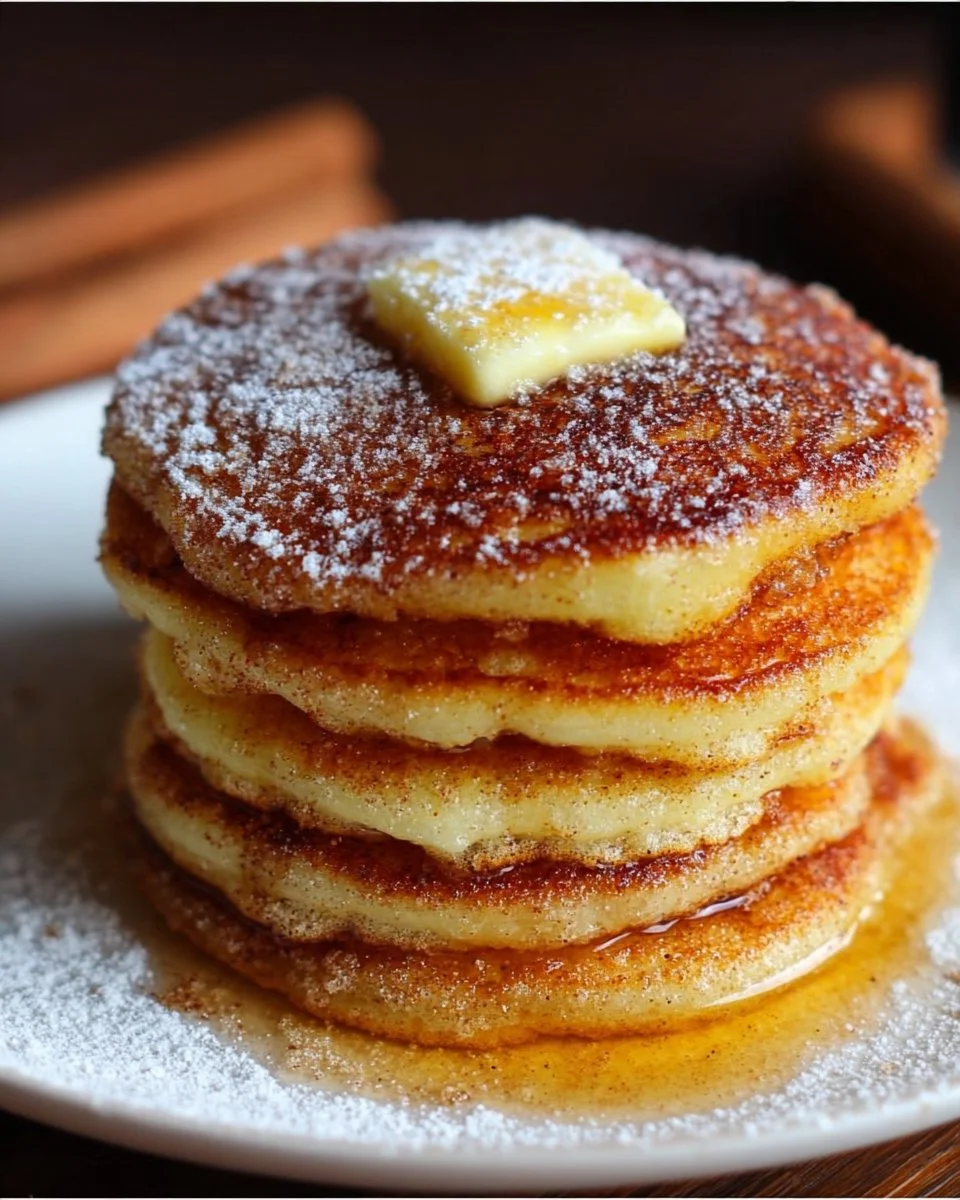
As the leaves turn and the air gets crisp, I find myself craving the warm, cozy flavors of fall. That’s where these delightful Apple Butter Whoopie Pies come in! They’re not just a treat; they’re a hug in dessert form. Perfect for busy days, these whoopie pies are quick to whip up and will impress your loved ones. Imagine soft, cake-like cookies filled with creamy goodness, all infused with the rich taste of apple butter. Trust me, once you take a bite, you’ll be transported to a pumpkin patch on a sunny autumn day!
Why You’ll Love This Apple Butter Whoopie Pies
These Apple Butter Whoopie Pies are a dream come true for busy moms and professionals alike. They’re incredibly easy to make, taking just over half an hour from start to finish. The taste? Oh, it’s like autumn on your palate! With their soft texture and creamy filling, they’re sure to become a family favorite. Plus, they’re perfect for sharing at gatherings or simply enjoying with a warm cup of tea.
Ingredients for Apple Butter Whoopie Pies
Gathering the right ingredients is the first step to creating these scrumptious Apple Butter Whoopie Pies. Here’s what you’ll need:
- All-purpose flour: This is the base of your cookies, giving them structure and a soft texture.
- Baking soda: A leavening agent that helps the cookies rise, making them light and fluffy.
- Ground cinnamon: Adds a warm, spicy flavor that perfectly complements the apple butter.
- Ground nutmeg: Just a pinch brings a cozy, aromatic touch to your whoopie pies.
- Salt: Enhances the sweetness and balances the flavors in the cookies.
- Unsalted butter: Softened butter creates a rich, creamy texture in the cookie dough.
- Brown sugar: This adds moisture and a deep, caramel-like flavor to the cookies.
- Granulated sugar: Sweetens the dough and helps achieve a lovely golden color.
- Apple butter: The star of the show! It infuses the cookies with a rich apple flavor and moisture.
- Large eggs: They bind the ingredients together and add richness to the dough.
- Vanilla extract: A splash of vanilla enhances the overall flavor, making it even more delightful.
- Powdered sugar: This is used for the creamy filling, giving it a smooth texture.
- Milk: Helps achieve the right consistency for the filling, making it spreadable.
For those looking to switch things up, consider adding a pinch of cinnamon to the filling for an extra kick. You can find all the exact measurements at the bottom of the article, ready for printing!
How to Make Apple Butter Whoopie Pies
Step 1: Preheat the Oven
Start by preheating your oven to 350°F (175°C). This step is crucial for ensuring your cookies bake evenly. While the oven warms up, line a baking sheet with parchment paper. This will prevent sticking and make cleanup a breeze!
Step 2: Mix Dry Ingredients
In a medium bowl, whisk together the all-purpose flour, baking soda, cinnamon, nutmeg, and salt. This step helps to evenly distribute the leavening agents and spices, ensuring every bite of your Apple Butter Whoopie Pies is bursting with flavor!
Step 3: Cream the Butter and Sugars
In a large bowl, cream together the softened unsalted butter, brown sugar, and granulated sugar until the mixture is light and fluffy. This process incorporates air into the dough, giving your cookies that delightful soft texture we all love.
Step 4: Combine Wet Ingredients
Add the apple butter, eggs, and vanilla extract to the butter mixture. Mix until everything is well combined. The apple butter not only adds flavor but also keeps the cookies moist and tender, making each bite a little piece of heaven!
Step 5: Combine Wet and Dry Mixtures
Gradually add the dry ingredients to the wet mixture, stirring gently until just combined. Be careful not to overmix; this can lead to tough cookies. You want a soft, slightly sticky dough that will bake up beautifully!
Step 6: Shape the Cookies
Using a tablespoon, drop rounded amounts of dough onto the prepared baking sheet, spacing them about 2 inches apart. This allows room for spreading. If you want uniform cookies, consider using a cookie scoop for even portions!
Step 7: Bake the Cookies
Bake the cookies for 10-12 minutes, or until the edges are lightly golden. To check for doneness, gently press the center of a cookie; it should spring back. Let them cool on the baking sheet for a few minutes before transferring to a wire rack.
Step 8: Prepare the Filling
In a small bowl, mix the powdered sugar and milk until smooth. You want a creamy consistency that’s easy to spread. If you like, add a pinch of cinnamon for a spiced twist that complements the apple butter perfectly!
Step 9: Assemble the Whoopie Pies
To assemble, spread or pipe the filling onto the flat side of one cookie. Top it with another cookie, flat side down, to create a sandwich. Press gently to spread the filling to the edges. Repeat until all cookies are filled!
Tips for Success
- Make sure your butter is softened for easy creaming.
- Don’t skip the parchment paper; it makes cleanup a breeze!
- Use a cookie scoop for uniform cookie sizes.
- Let the cookies cool completely before filling to prevent a gooey mess.
- Store leftovers in an airtight container to keep them fresh.
Equipment Needed
- Baking sheet: A standard sheet works, but a silicone mat can help with even baking.
- Parchment paper: This is essential for easy cleanup; aluminum foil can be a substitute.
- Mixing bowls: Use any size, but a large bowl is best for creaming.
- Whisk: A hand whisk or electric mixer will do the job.
- Cookie scoop: This helps with portioning, but a tablespoon works too!
Variations
- Chocolate Chip Addition: Fold in mini chocolate chips for a delightful contrast to the apple butter.
- Gluten-Free Option: Substitute all-purpose flour with a gluten-free blend for a tasty alternative.
- Vegan Twist: Use coconut oil instead of butter and flax eggs in place of regular eggs for a plant-based version.
- Spiced Filling: Add a dash of pumpkin spice to the filling for an extra autumnal flavor.
- Nutty Crunch: Incorporate chopped walnuts or pecans into the cookie dough for added texture.
Serving Suggestions
- Pair your Apple Butter Whoopie Pies with a warm cup of spiced chai or apple cider for a cozy treat.
- Serve them on a rustic wooden platter for a charming autumn presentation.
- For a fun twist, dust the filling with a sprinkle of cinnamon before serving.
FAQs about Apple Butter Whoopie Pies
Can I use homemade apple butter for this recipe?
Absolutely! Homemade apple butter adds a personal touch and can enhance the flavor of your whoopie pies. Just make sure it’s smooth and not too watery for the best results.
How do I store leftover whoopie pies?
Store your Apple Butter Whoopie Pies in an airtight container at room temperature for up to a week. If you want to keep them longer, they can be frozen for up to three months!
Can I make the filling ahead of time?
Yes! You can prepare the filling a day in advance. Just store it in the fridge in an airtight container. When you’re ready to assemble, give it a quick stir to bring it back to the right consistency.
What can I substitute for eggs in this recipe?
If you’re looking for an egg substitute, try using a flax egg. Mix one tablespoon of ground flaxseed with three tablespoons of water and let it sit for a few minutes until it thickens. This works well in keeping the cookies moist!
Can I add more spices to the cookies?
Definitely! Feel free to experiment with spices like ginger or allspice to give your Apple Butter Whoopie Pies a unique twist. Just remember to balance the flavors so they don’t overpower the apple butter!
Final Thoughts
Making Apple Butter Whoopie Pies is more than just baking; it’s about creating memories. The aroma of warm spices fills your kitchen, wrapping you in a cozy embrace. Each bite is a delightful reminder of fall, bringing smiles to your family’s faces. Whether you’re sharing them at a gathering or enjoying them with a quiet cup of tea, these whoopie pies are sure to become a cherished tradition. So, roll up your sleeves, gather your loved ones, and dive into this sweet adventure. Trust me, the joy of baking and sharing these treats is simply unbeatable!
Print
Apple Butter Whoopie Pies: A Sweet Fall Delight!
- Prep Time: 20 minutes
- Cook Time: 12 minutes
- Total Time: 32 minutes
- Yield: 12 whoopie pies 1x
- Category: Dessert
- Method: Baking
- Cuisine: American
- Diet: Vegetarian
Description
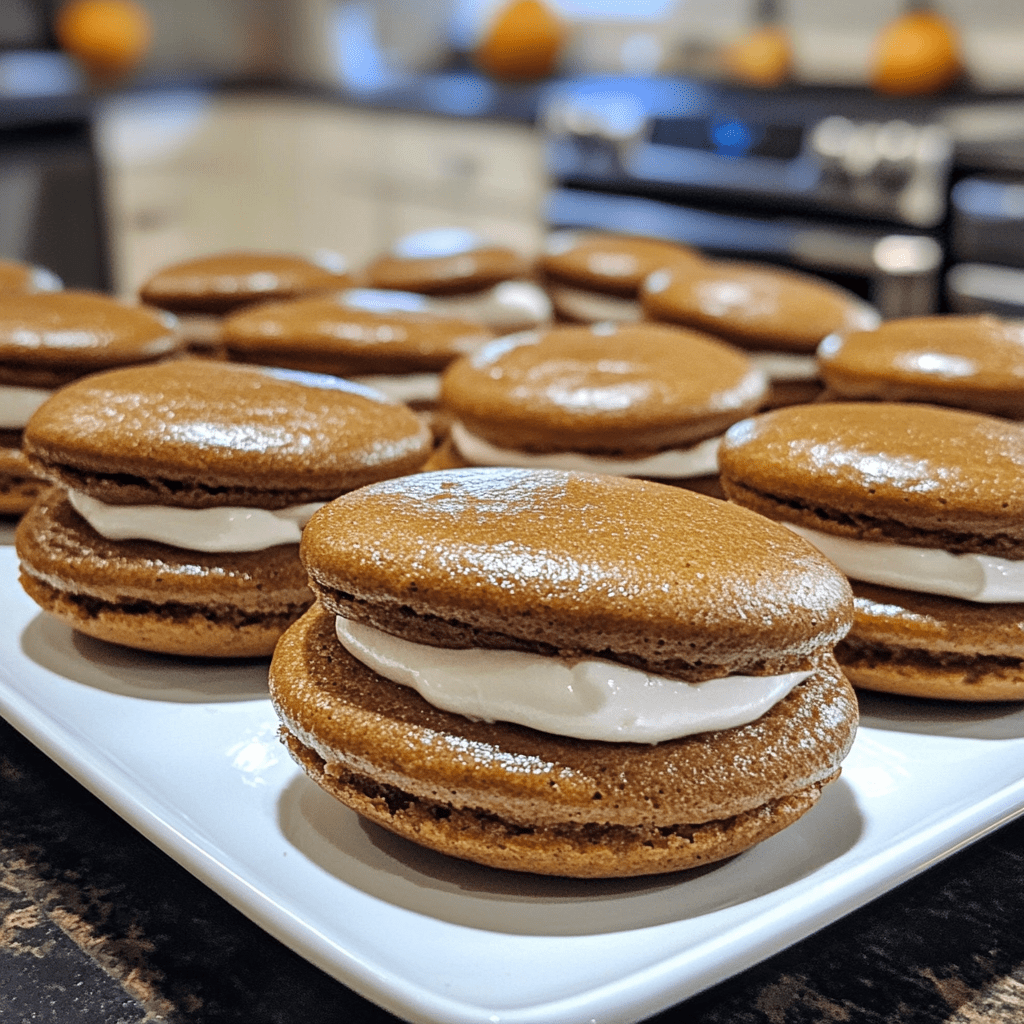
Apple Butter Whoopie Pies are a delightful fall treat, combining the rich flavors of apple butter with soft, cake-like cookies, sandwiched together with a creamy filling.
Ingredients
- 2 cups all-purpose flour
- 1 teaspoon baking soda
- 1 teaspoon ground cinnamon
- 1/2 teaspoon ground nutmeg
- 1/2 teaspoon salt
- 1/2 cup unsalted butter, softened
- 1 cup brown sugar, packed
- 1/2 cup granulated sugar
- 1 cup apple butter
- 2 large eggs
- 1 teaspoon vanilla extract
- 1 cup powdered sugar
- 2 tablespoons milk
Instructions
- Preheat the oven to 350°F (175°C) and line a baking sheet with parchment paper.
- In a bowl, whisk together flour, baking soda, cinnamon, nutmeg, and salt.
- In a separate bowl, cream together the butter, brown sugar, and granulated sugar until light and fluffy.
- Add the apple butter, eggs, and vanilla extract to the butter mixture and mix until well combined.
- Gradually add the dry ingredients to the wet ingredients, mixing until just combined.
- Drop tablespoon-sized amounts of dough onto the prepared baking sheet, spacing them about 2 inches apart.
- Bake for 10-12 minutes or until the edges are lightly golden. Let cool on the baking sheet for a few minutes before transferring to a wire rack to cool completely.
- For the filling, mix powdered sugar and milk until smooth. Spread or pipe the filling onto the flat side of one cookie and sandwich with another cookie.
Notes
- Store the whoopie pies in an airtight container for up to a week.
- For a spiced filling, consider adding a pinch of cinnamon to the cream filling.
- These pies can be frozen for up to 3 months; just thaw before serving.
Nutrition
- Serving Size: 1 whoopie pie
- Calories: 200
- Sugar: 15g
- Sodium: 150mg
- Fat: 8g
- Saturated Fat: 4g
- Unsaturated Fat: 3g
- Trans Fat: 0g
- Carbohydrates: 30g
- Fiber: 1g
- Protein: 2g
- Cholesterol: 30mg